Showing posts with label 1/100. Show all posts

Wednesday, December 31, 2014

MG Geara Doga Review


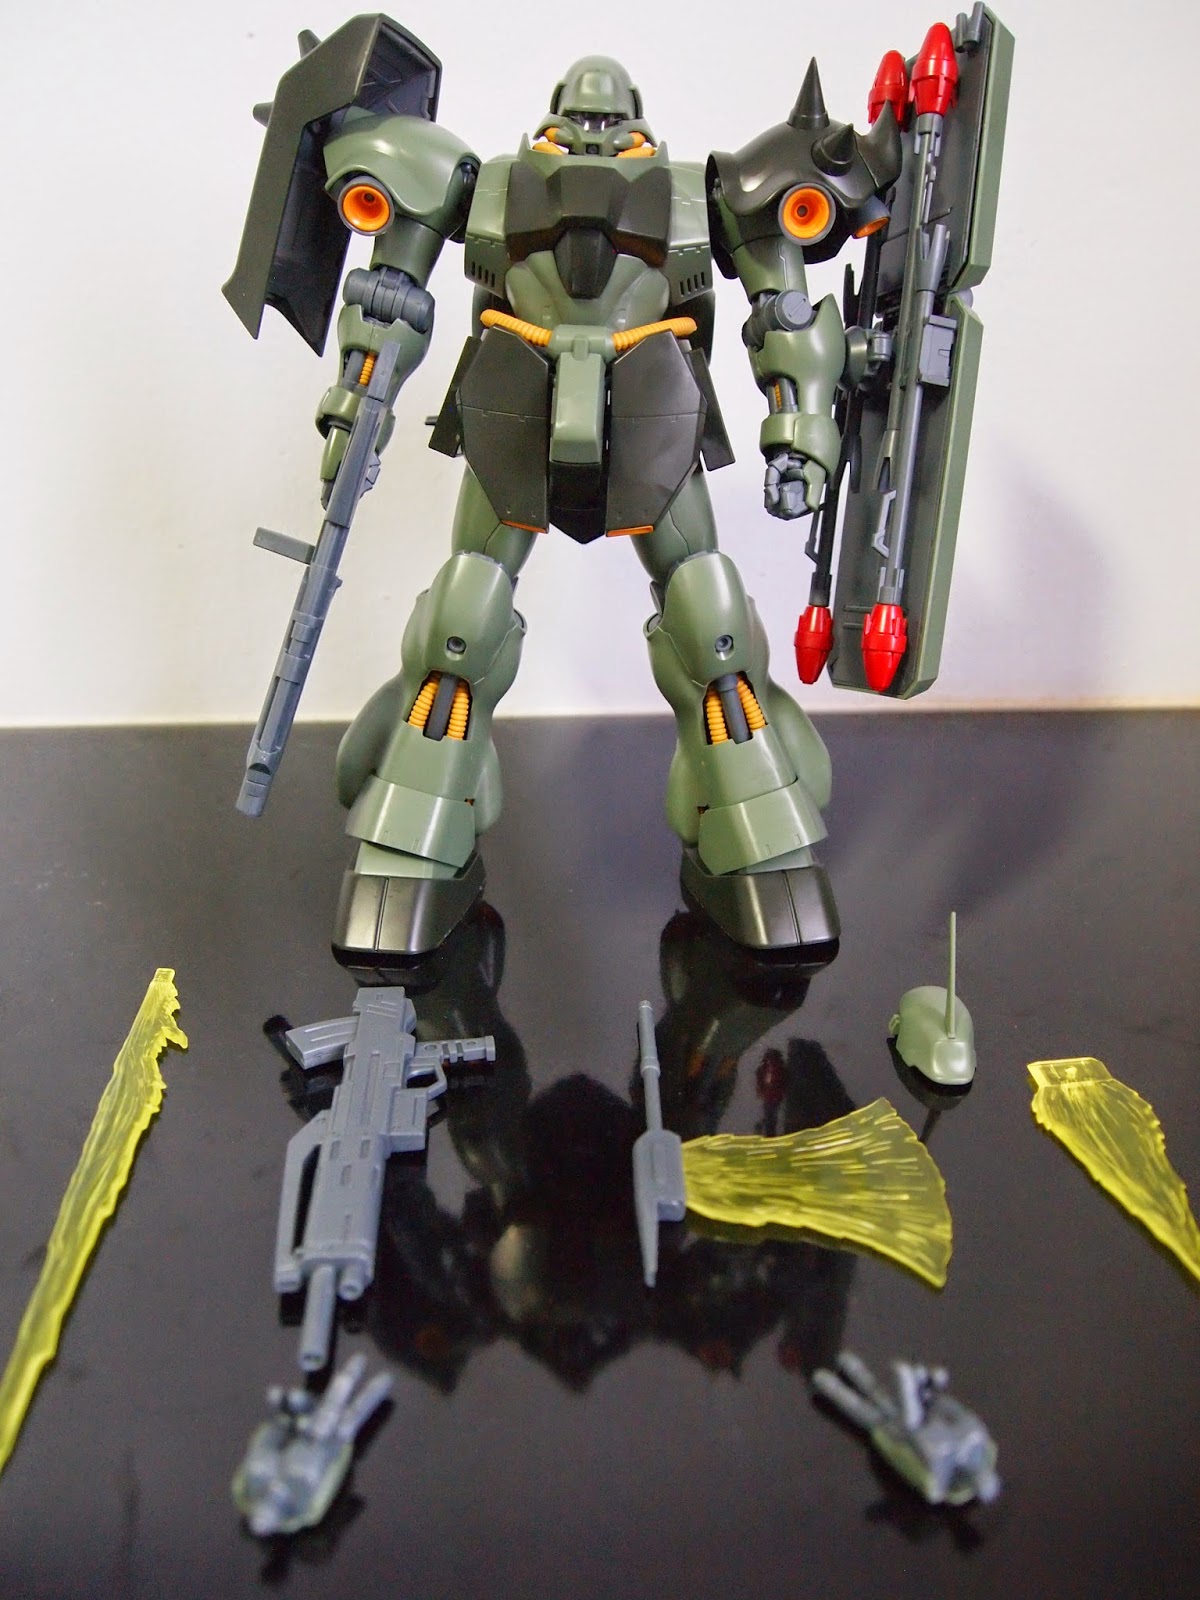
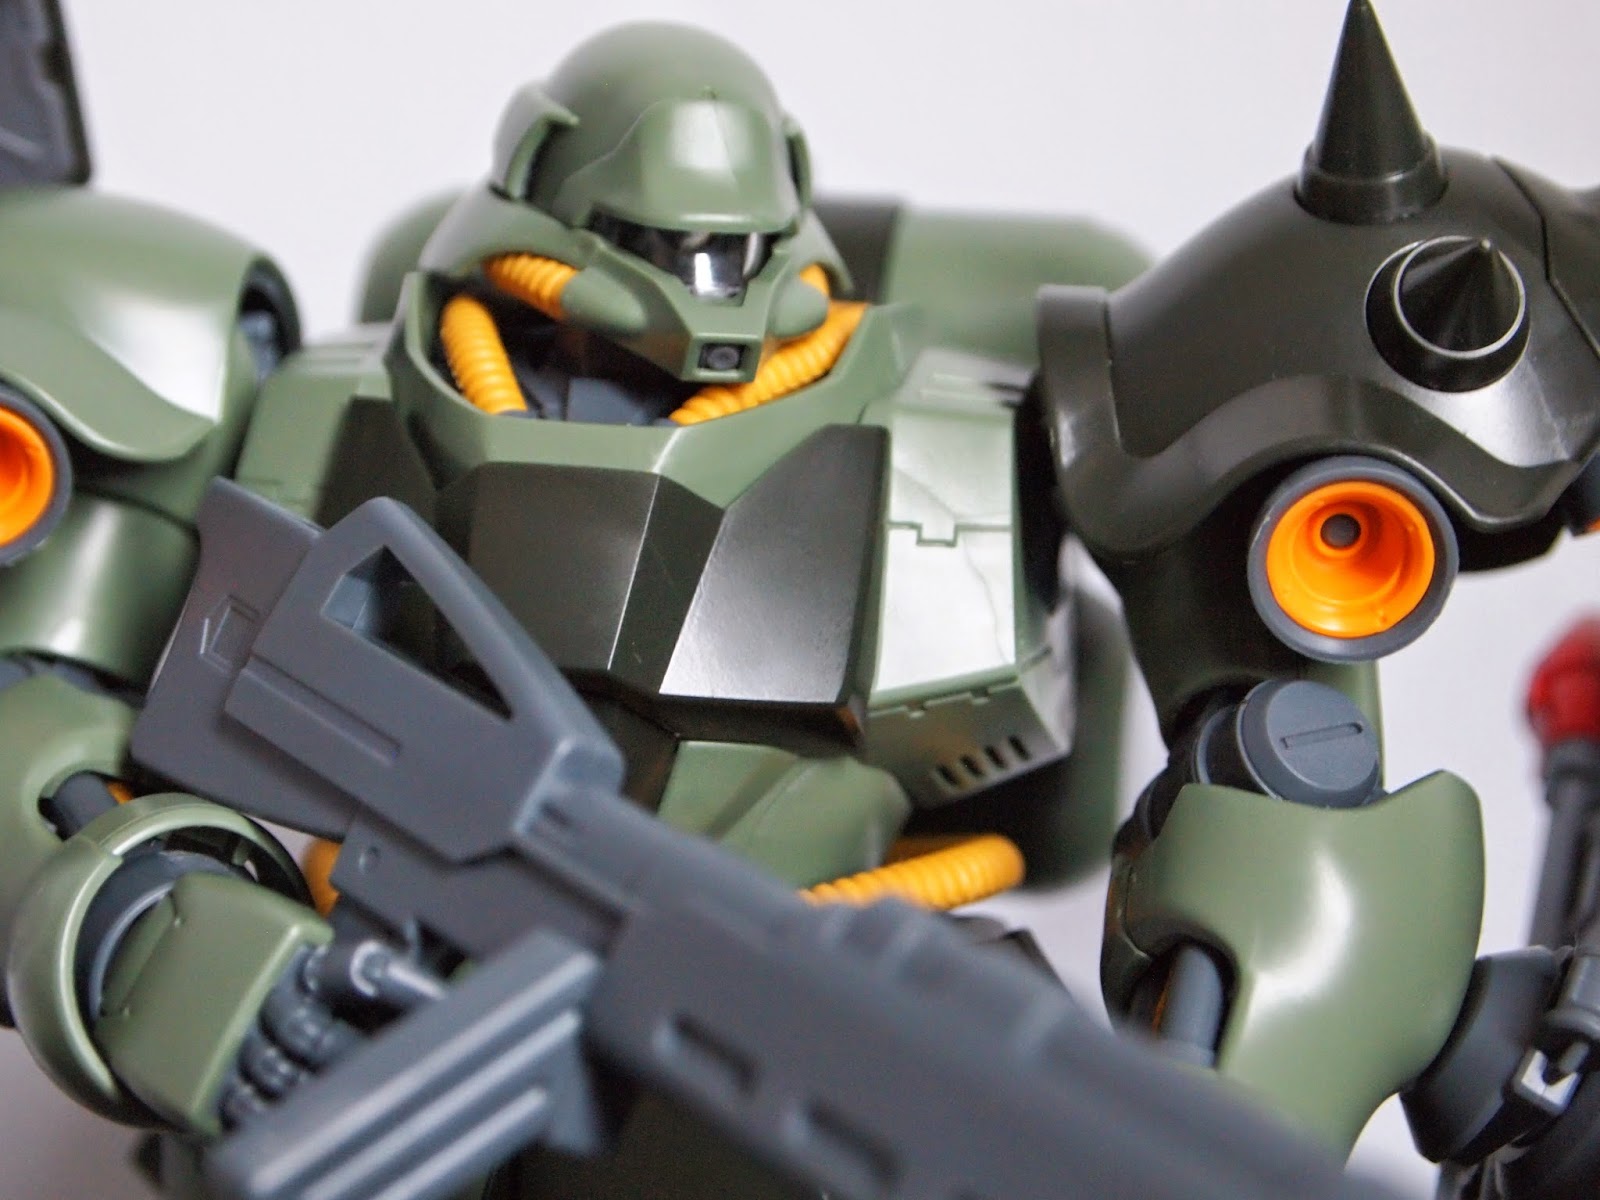
All my Master Grade (MG) gunpla so far are gundams so this is my first mono eye MG kit that I bought. The geara doga first appeared in Char's Counter-attack and also in Gundam Unicorn but by then it is already mostly replaced by geara zulu as the Neo Zeon main mass-produced mobile suit. From its design, it resembles the zaku 2 but is a bit bulkier and with more thrusters.


It is an out of box build. If some parts looks like it is loosely attached, it is done on purpose so that it is easier for me to disassemble afterwards as I have plans to modify it.

The colours on this kit is great with good colour separation, the orange parts complement the green parts well. The energy piping on this kit is unique as it is made of rubber instead of the normal piping found on a zaku which is made up of many small circular pieces. The piping secure well and look great but at some angles the mold line can be seen.


The backpack's design is interesting as normally there is only thrusters facing downwards but in this case there are thrusters facing all four directions. The design is logical as in space without gravity, the thrusters should not be facing only downwards.

I used a colour filter here so the colour looks different 
It has average articulation but has some cool gimmick such as exposing the inner frame and yellow piping at the knee when you bend it and having a slot at the torso for you to add led to light up the head.


For accessories, it comes with a head part and another beam riffle to make the commander type. It also comes with the beam effect parts and two hands with movable fingers.


I like the design of the beam sabre as it looks much more menacing than the generic beam sabre.

   Although it does not have much panel lines or details on those large armour parts, it does make up for it with the other more prominent features like the piping and thrusters which really adds to the overall look. There is also hardly any seam lines so it is rather well designed. It is definitely a good kit to buy.

Tuesday, September 9, 2014

Tieren Phalanx Completed

This project is inspired by gundam build fighters where I modify the Tieren based solely on what weapons and amour that I want it to have in a battle. The name "phalanx" is inspired from mahouka so I tried to make its shields the main point of the kit.


The tieren being bulky so I think that a buster sword is the most compatible with its size. Thus, I took the tactical arms from a NG Blue Frame Second L and modify the sword with the design cues from the tactical arms from the master grade version where I added pla plates to the edges and removed the hilt.

I changed the signal backpack from the original tieren to a weapon backpack by attaching a grand slam sword from MG strike IWSP and its original machine gun.

Tieren

Tieren

Tieren
Tieren
   All full armoured up. The decals are from Samuel decals and some of them are from left overs from my FA unicorn decals. The base are basically made from left-over pla plates and putty. The base looks plain but that is all I could do in the time constraint.

Tieren Phalanx WIP

I had completed the kit a few months ago but didn't have the time to update the blog till now. It is basically a project for me to work with pla plates for the first time.

0.3mm or 0.5 mm pla plates? It is a question that I thought about when I wanted to buy pla plates for the first time. After working with both thickness, I find 0.3 mm plates are like thick sheets of paper so they are good for detailing and good for curve surfaces as they are flexible enough. For 0.5 mm plates, they are more stiff so they are good for scratch building rigid structures and detailing parts where you want the details to protrude out more but are not good for curved surfaces.


 The shoulder shields are built from 0.5 mm pla plates and the external lines on the shields are made from 0.3 mm plates. 

After pla plating, painting is another headache as with all the added details, they would need to be masked if you want them in different colours. There are two ways of masking, namely masking tape from tamiya or masking solution from mr hobby. After working with both ways, I find it more reassuring to use masking tape over masking solution as the masking solution turns translucent after a while so sometimes I will missed out some edges. The masking solution is also hard to control where you apply it to especially on raised surface and uneven surfaces.

Tuesday, July 29, 2014

1/100 Tieren Ground Type Review

This is a birthday present from my friend, I have assembled it years ago but I am taking it out to do some modifications to it. Since I am taking photos of how the tieren looks out of the box, I might as well do a review of it.
In the anime, the Tieren did not have much impressive battle scenes, especially for the ground type are typically depicted as weak units (but every unit is weak compared to the gundam in the early part of gundam 00) while the aces uses a commander type and taozi. However, looking at the model kit itself, it makes you appreciates the design more. I like the overall design as it resembles a zeon mobile suit with its mono eye and shoulder shields.


Despite its bulky appearance, it has quite good articulation. The upper torso can rotate 360 degrees, tilt front and back and even left and right. The orange armour parts offers a good contrast to the green color scheme. It comes with three types of weapons like the bazooka, machine gun and a combat knife. For a non-grade, the amount of details on it is quite decent.

This will be my next project. The objectives will be to try working with pla-plates, to use lacquer paints instead of acrylic for painting and scratch building, all for the first time. Hopefully, I can complete it before the school semester starts and enter the GWBC Singapore.